Attic Ventilation Requirements: Code Rules and Best Practices
Affiliate Disclosure: HomeGear Guide is reader-supported. When you buy through links on our site, we may earn an affiliate commission at no extra cost to you. We do not accept paid product placements or sponsor-biased reviews.
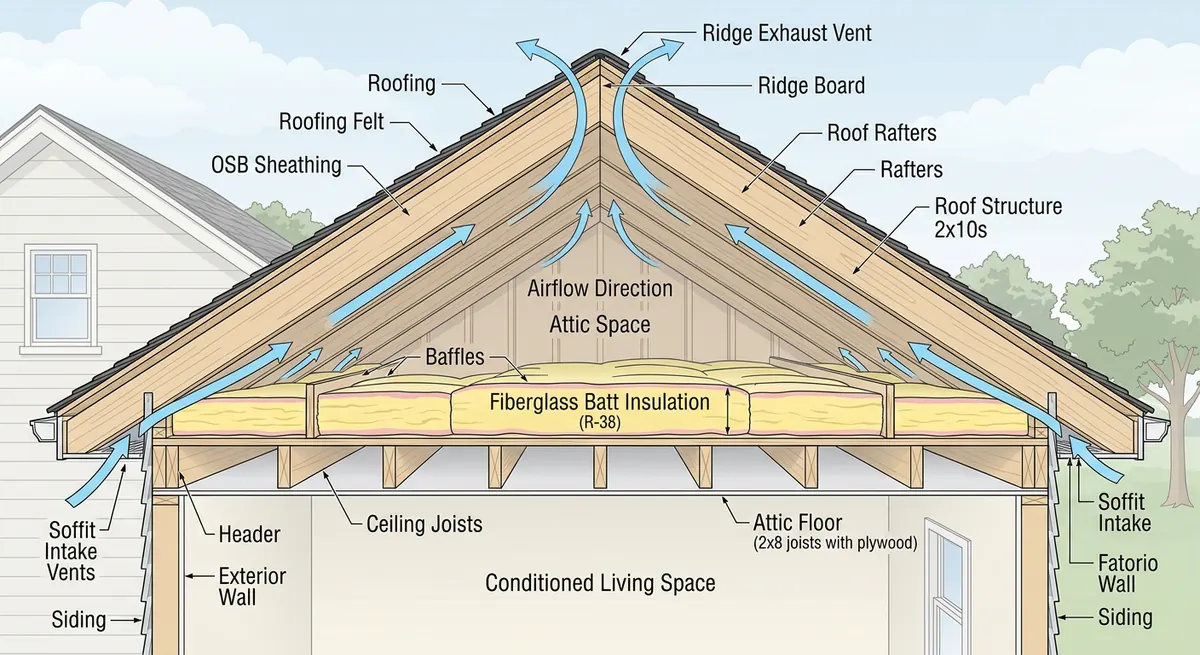
Attic ventilation is one of those building science topics that seems simple until you dig into it. The basic idea is straightforward: let fresh air in at the bottom of the attic and let hot, moist air out at the top. But the details — how much ventilation, what type, where to place it, and how to keep intake and exhaust in balance — are where most attics go wrong. Building codes specify a minimum ventilation ratio, but code compliance alone does not guarantee a healthy attic. Undersized intake, mixed exhaust types that short-circuit airflow, and blocked soffit vents are common problems that lead to roof damage, mold, and high energy bills. This guide covers the code requirements, the intake-versus-exhaust balance, the types of vents available, how to calculate your ventilation net free area, the mistakes to avoid, and when powered ventilation makes sense.
Quick Answer
The International Residential Code requires 1 square foot of net free ventilating area per 300 square feet of attic floor when a vapor barrier is installed, or 1:150 without one, with intake and exhaust split roughly 50/50 and intake slightly more. Intake vents (soffit, eave, gable) bring in fresh air at the low points, while exhaust vents (ridge, box, power fan) let hot air escape at the high points. The most common mistakes are mixing exhaust types — which short-circuits the airflow path — and providing insufficient or blocked intake, which starves the system and can cause the exhaust to pull conditioned air from the living space. Powered ventilation is worth adding when passive ventilation cannot keep attic temperatures below 110 to 120 degrees, or in humid climates where moisture control matters as much as heat.
The 1:300 Rule Explained
The International Residential Code (IRC) and most local building codes require a minimum ratio of ventilation net free area (NFA) to attic floor area. The standard rule is 1 square foot of ventilation NFA per 300 square feet of attic floor space — written as 1:300. This total NFA is split between intake and exhaust vents.
The 1:300 ratio assumes you have a vapor barrier installed on the attic floor (typically the warm side of the ceiling). If no vapor barrier is present, the code requires a higher ratio of 1:150 — twice as much ventilation. The stricter ratio compensates for the additional moisture that can migrate into the attic without a vapor barrier to slow it.
Net free area is the actual open area of a vent through which air can flow, accounting for the obstructions of louvers, screens, and grilles. A vent that is 12 by 12 inches does not have 1 square foot of NFA — the louvers and insect screen reduce the effective opening, often by 50% or more. Always use the manufacturer-rated NFA, not the physical vent dimensions, when calculating ventilation.
These ratios are minimums. In hot climates or humid regions, exceeding the minimum — for example, aiming for 1:200 — provides better temperature and moisture control. The code sets the floor, not the ceiling, and a well-ventilated attic usually benefits from more than the bare minimum.
Intake vs. Exhaust Balance
Ventilation only works when air enters low and exits high. The split between intake and exhaust matters as much as the total. The generally recommended balance is 50/50 between intake and exhaust NFA, with many experts recommending slightly more intake than exhaust — often expressed as 50% exhaust and 50% intake, or up to 60% intake and 40% exhaust.
The reason for favoring intake is that intake vents are more prone to being undersized or blocked by insulation, and an exhaust-heavy system will pull air from the path of least resistance — which is often the conditioned living space below rather than the soffit vents. Slightly more intake than exhaust ensures the system draws fresh outside air rather than conditioned indoor air.
When you add a powered exhaust fan, the intake requirement scales with the fan CFM rather than the code minimum ratio. The rule for powered ventilation is 1 square foot of intake NFA per 300 CFM of exhaust, covered in detail in our sizing guide. Passive ventilation uses the 1:300 area ratio, while powered ventilation uses the CFM-based ratio.
Types of Intake Vents
Intake vents are installed at the low points of the attic — the eaves and soffits — and their job is to bring fresh outside air into the attic. There are three main types, and the right choice depends on your roof design and aesthetic preferences.
Soffit Vents
Soffit vents are the most common intake type and are installed in the soffit — the horizontal underside of the roof overhang. They come as individual rectangular vents (typically 16-by-8 or 14-by-6 inches) or as continuous strips that run the full length of the eave. Continuous soffit vents provide the most even airflow and are easier to balance with a continuous ridge vent at the peak. Individual vents are cheaper and easier to retrofit but can leave dead spots between them if spaced too far apart.
Soffit vents are vulnerable to being blocked by insulation pushed into the eave from above. Use baffles (also called rafter vents) between each rafter bay to hold insulation back and keep the air path from the soffit to the attic open. Without baffles, insulation slowly migrates into the eave and chokes off the intake.
Eave Vents
Eave vents are similar to soffit vents but are installed on the vertical fascia or the sloped underside of the eave rather than the horizontal soffit. They are used when the roof has no horizontal soffit — common on modern houses with no overhang. Eave vents function the same way as soffit vents and should be counted toward intake NFA in the same manner.
Gable Vents as Intake
Gable vents are installed on the vertical triangular wall at the end of the attic. They can function as either intake or exhaust depending on wind direction and the location of other vents. When used as the sole intake source, gable vents are less effective than soffit vents because they do not create the low-to-high airflow path that continuous soffit-to-ridge ventilation provides. They are best used as supplemental intake in combination with soffit vents, or as the primary intake on gable-roof homes where soffit ventilation is not possible.
Types of Exhaust Vents
Exhaust vents are installed at or near the highest point of the attic and let hot, moist air escape. The type of exhaust you choose should match your roof design and your intake ventilation strategy.
Ridge Vents
A ridge vent runs continuously along the peak of the roof and is the most effective passive exhaust type. Because it sits at the highest point, it captures the hottest air, and its continuous length provides even exhaust along the entire roof. Ridge vents work best with continuous soffit intake, creating a smooth low-to-high airflow path. They are nearly invisible from the ground and require no maintenance or electricity.
Ridge vents do have limitations. They are not suitable for hip roofs with very short ridge lines, and they can underperform in high-wind areas unless an external baffle is installed. Choose a baffled ridge vent — the external baffle creates a low-pressure zone that pulls air out, and it prevents wind-driven rain from entering.
Box Vents (Static Roof Vents)
Box vents are individual static vents installed near the ridge. They have no moving parts and rely on natural convection — hot air rises and exits through the vent. They are inexpensive and easy to install on existing roofs, but because they are point-source vents, they only exhaust the air immediately around them. To cover a full attic, you need multiple box vents spaced along the ridge, which can look cluttered. Box vents are a good choice when a ridge vent is not feasible — for example, on a hip roof with a short ridge.
Powered Attic Fans
Powered attic fans are motorized exhaust vents that actively pull hot air out of the attic. They are available in electric (hardwired) and solar configurations and move significantly more air than passive vents on demand. Powered fans make sense when passive ventilation cannot keep attic temperatures acceptable, in humid climates where moisture control requires active airflow, or in very large attics. The trade-off is that they use electricity (except solar models), require maintenance, and must be paired with sufficient intake ventilation to avoid creating negative pressure. See our sizing guide to calculate the right CFM for your attic.
How to Calculate Your Ventilation NFA
Calculating your attic ventilation is a four-step process that tells you whether your current vents meet code and whether you need to add more.
First, determine your attic floor area in square feet (length times width of the attic footprint). Second, apply the 1:300 rule to find your required total ventilation NFA — divide the attic area by 300. For a 2,400 square foot attic, you need 8 square feet of total ventilation NFA.
Third, split that total between intake and exhaust. Using a 50/50 split, you need 4 square feet of intake NFA and 4 square feet of exhaust NFA. If you favor intake at 60/40, you need 4.8 square feet of intake and 3.2 square feet of exhaust.
Fourth, count your existing vents and look up each one rated NFA. Add the intake vents together and the exhaust vents together, then compare each to your required split. If either side falls short, add vents of the deficient type. Use the manufacturer-rated NFA, not the physical opening size — screens and louvers reduce the effective area significantly.
Common Ventilation Mistakes
Even attics that meet the 1:300 ratio can have ventilation problems. The most common mistakes are structural — they break the airflow path or create shortcuts that defeat the intended low-to-high circulation.
Mixing Exhaust Types
Installing two different exhaust types — for example, a ridge vent and box vents, or a ridge vent and a gable vent — is one of the most common and damaging mistakes. When two exhaust points exist at different heights or locations, the air takes the shortest path. A ridge vent combined with box vents causes air to enter the nearest box vent and exit the ridge vent (or vice versa), short-circuiting the soffit-to-ridge flow and leaving most of the attic unventilated. Pick one exhaust type and use it consistently across the roof.
Blocked Soffit Vents
Soffit vents are routinely blocked by insulation that has been pushed or blown into the eaves. When the intake is choked off, the exhaust vents — passive or powered — cannot draw fresh outside air. Instead, they pull air from the living space below, which defeats the purpose of ventilation and can increase energy costs. Install baffles in every rafter bay at the eave to hold insulation back and preserve the air channel. Check existing soffit vents from inside the attic to confirm they are clear.
Insufficient Intake
Many attics have plenty of exhaust vents and almost no intake. This imbalance is worse than having too little of both, because the exhaust side creates suction with nothing to pull from. The result is negative pressure, conditioned air loss from the living space, and backdrafting risk for combustion appliances. If you are adding exhaust vents, calculate the intake requirement first and add soffit or eave vents to match. Intake should be equal to or slightly greater than exhaust.
When to Add Powered Ventilation
Passive ventilation — soffit intake and ridge or box exhaust — is the first line of defense and should always be maximized before adding powered fans. But passive ventilation has limits. On a 95 degree day with full sun, even a well-designed passive system may only hold attic temperatures to 110 to 120 degrees, which is still hot enough to stress shingles and transfer heat through the ceiling.
Consider adding a powered attic fan when passive ventilation cannot keep attic temperatures below 110 to 120 degrees during peak summer, when you live in a humid climate where moisture control requires active airflow beyond what convection provides, or when your attic is very large and passive vents cannot move enough air to keep up. A humidistat-controlled fan is particularly valuable in humid regions where nighttime moisture condenses on cool attic surfaces.
Before installing a powered fan, verify your intake ventilation can support the fan CFM at 1 square foot of intake NFA per 300 CFM. A powered fan without adequate intake creates the same negative-pressure problems as an oversized passive exhaust — and usually worse, because the fan actively pulls air. See our sizing guide for the full CFM calculation.
In most hot, dry climates, the combination of a radiant barrier under the rafters, adequate passive ventilation, and proper insulation (R-38 to R-49) is more cost-effective than a powered fan. Reserve powered ventilation for attics where passive methods have been fully optimized and still cannot maintain acceptable conditions.
Attic Ventilation Calculator & Code Sizing Tool
Calculate your attic's required Net Free Ventilating Area (NFVA) under IRC R806.2 building code formulas, balanced 50/50 between intake and exhaust.
Frequently Asked Questions
The 1:300 rule is the International Residential Code minimum that requires 1 square foot of ventilation net free area (NFA) per 300 square feet of attic floor area, with the total split between intake and exhaust. If no vapor barrier is installed on the attic floor, the ratio increases to 1:150. The NFA used in the calculation must be the manufacturer-rated value, not the physical vent dimensions.
Final Verdict
A properly ventilated attic starts with the 1:300 rule, splits the total NFA roughly evenly between intake and exhaust with a slight bias toward intake, uses a single exhaust type consistently, and keeps soffit vents clear with baffles. Calculate your NFA using manufacturer ratings, not physical dimensions, and add vents of whichever side falls short. Avoid the three classic mistakes — mixing exhaust types, blocked soffits, and insufficient intake — because each one breaks the airflow path that ventilation depends on. Add powered ventilation only when passive methods have been fully optimized and still cannot keep up, and always pair a powered fan with intake ventilation sized to its CFM.
Michael Davies
Home Systems & Repair Editor
Michael writes about roofing, attic ventilation, insulation, and structural repair products for HomeGear Guide. His focus is on helping homeowners understand the materials and tools involved in protecting their home exterior and interior.
Related Articles & Buying Guides
 Attic & Insulation
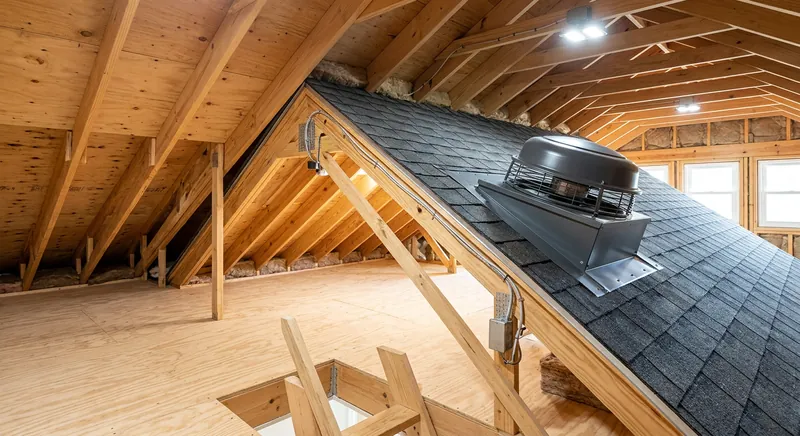
Best Attic Fans for Ventilation and Temperature Control
Compare solar and electric attic ventilation fans by airflow, thermostat controls, roof mounting, and IRC building codes to cool your attic and protect your roof.
 Attic & Insulation
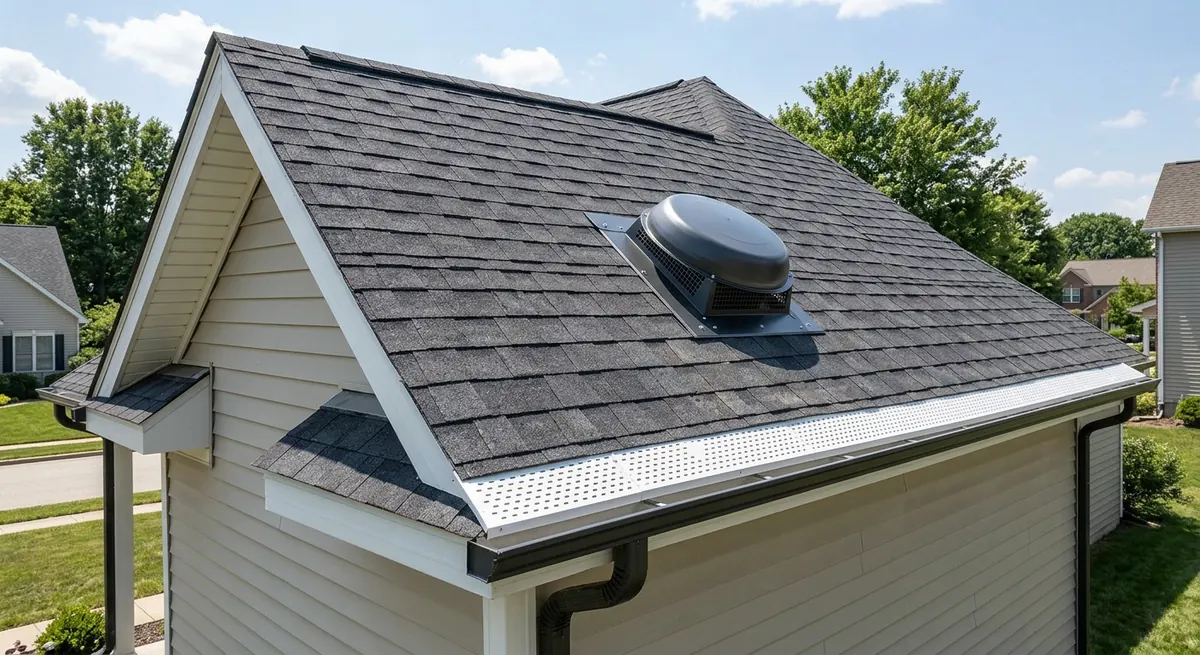
How to Size an Attic Fan: CFM Calculation Guide
Sizing an attic fan correctly is the difference between effective ventilation and wasted money. This guide walks through the CFM formula, a sizing chart by attic size, and intake ventilation checks.
 Attic & Insulation
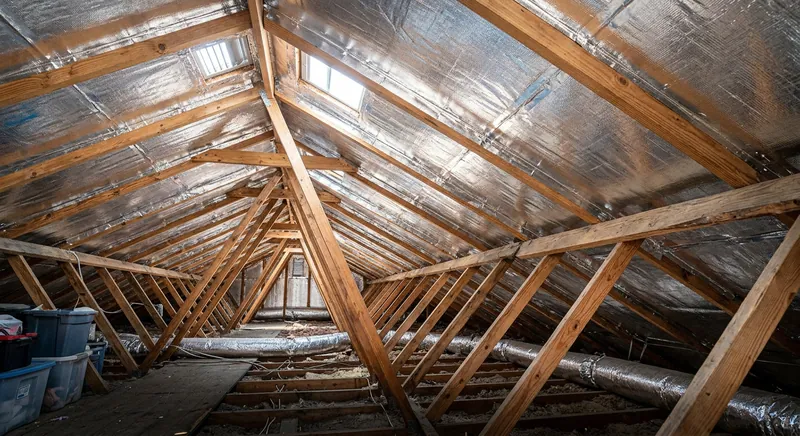
Best Radiant Barriers for Attic Heat Reduction
Radiant barriers reflect attic heat back toward the roof, reducing temperatures by 10–20°F. Here is how to compare foil barriers, radiant barrier paint, and installation methods.
 Attic & Insulation
Best Attic Insulation for Hot Climates
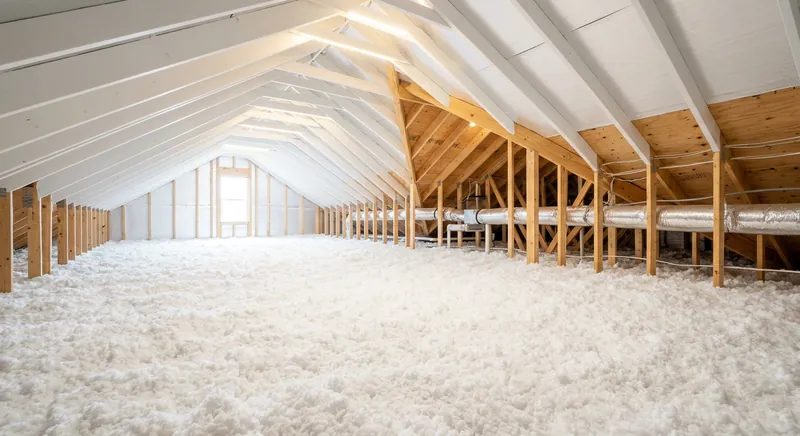
Compare spray foam, radiant barriers, blown fiberglass, and cellulose attic insulation to stop intense radiant heat gain, lower cooling bills, and control humidity.
Get Smarter About Your Home
Receive practical buying guides, product comparisons, maintenance tips and home project ideas from HomeGear Guide.
You can unsubscribe at any time.