Best Radiant Barriers for Attic Heat Reduction
Affiliate Disclosure: HomeGear Guide is reader-supported. When you buy through links on our site, we may earn an affiliate commission at no extra cost to you. We do not accept paid product placements or sponsor-biased reviews.
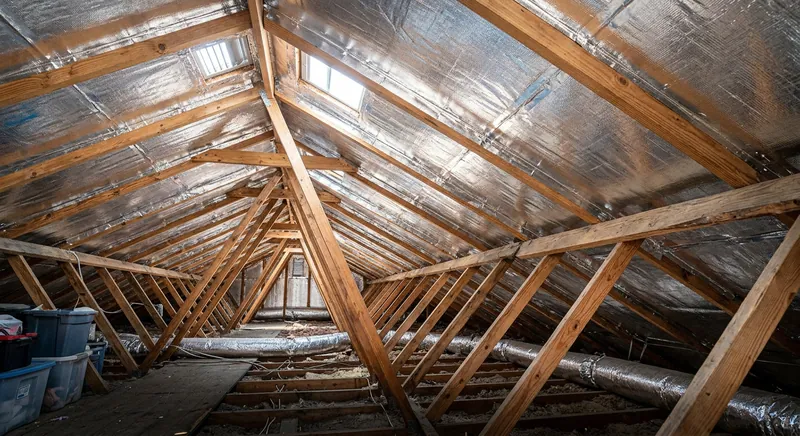
A radiant barrier is one of the most cost-effective upgrades you can make to a hot-climate attic. Unlike traditional insulation, which resists conductive heat flow and is rated by R-value, a radiant barrier works by reflecting radiant heat — the electromagnetic energy radiated by a hot surface — back toward its source. When installed under the roof deck, a radiant barrier can keep attic temperatures 10–20°F cooler, reducing the load on your air conditioning and extending the life of your roof. But not all radiant barriers are the same. There are foil barriers (perforated and solid, single and double-sided) and radiant barrier paints (also called interior radiation control coatings). Installation methods vary, and the performance claims can be confusing — especially when products advertise R-values, which radiant barriers do not actually have. This guide clarifies what radiant barriers do, compares the types available, and explains how to choose the right one for your attic.
Quick Answer
Perforated radiant barrier foil is the best choice for most homeowners because it reflects 90 to 97 percent of radiant heat while allowing moisture vapor to pass through, making it safe for all climates including humid regions. It costs just 15 to 35 cents per square foot and can reduce attic temperatures by 10 to 20 degrees when stapled under roof rafters with the reflective side facing down. Solid foil offers marginally higher reflectivity but traps moisture and should only be used in arid climates. Radiant barrier paint, technically an interior radiation control coating, is less effective at 40 to 80 percent reflectivity but is the practical choice for attics with complex framing where stapling foil is impractical. The critical installation requirement for all foil barriers is an air gap between the reflective surface and the roof deck, without which the barrier cannot function.
Top Picks at a Glance
Perforated Radiant Barrier Foil
Solid Radiant Barrier Foil
Radiant Barrier Paint/Coating
Double-Sided Radiant Barrier Foil
Product Comparison
| Product | Best For | Type | Reflectivity | Installation | Emissivity Rating | Price Range | Details |
|---|---|---|---|---|---|---|---|
Perforated Radiant Barrier Foil Best Overall | Most attics — allows moisture vapor to pass through while reflecting radiant heat | Perforated reflective aluminum foil | 90–97% of radiant heat | Stapled under roof rafters (requires air gap) | 0.03–0.05 (lower is better) | $0.15–$0.35 per sq ft | View Review ↓ |
Solid Radiant Barrier Foil | Dry climates where moisture vapor is not a concern and maximum reflectivity is desired | Solid (non-perforated) reflective aluminum foil | 95–97% of radiant heat | Stapled under roof rafters (requires air gap; dry climates only) | 0.03–0.05 | $0.12–$0.30 per sq ft | View Review ↓ |
Radiant Barrier Paint/Coating Best for Hard-to-Reach Areas | Attics with complex roof framing where stapling foil is impractical | Interior Radiation Control Coating (IRCC) — sprayable | 40–80% of radiant heat (varies by product) | Sprayed onto underside of roof deck (airless sprayer) | 0.20–0.50 (must be ≤0.25 to qualify as radiant barrier) | $0.40–$0.80 per sq ft | View Review ↓ |
Double-Sided Radiant Barrier Foil Best Performance | Homeowners who want maximum radiant heat reflection from both sides of the material | Double-sided reflective aluminum foil (perforated or solid) | 90–97% on both surfaces | Stapled under roof rafters (air gap both sides) | 0.03–0.05 on both surfaces | $0.20–$0.40 per sq ft | View Review ↓ |
Perforated Radiant Barrier Foil
Best Overall- Best For:
- Most attics — allows moisture vapor to pass through while reflecting radiant heat
- Type:
- Perforated reflective aluminum foil
- Reflectivity:
- 90–97% of radiant heat
- Installation:
- Stapled under roof rafters (requires air gap)
- Emissivity Rating:
- 0.03–0.05 (lower is better)
- Price Range:
- $0.15–$0.35 per sq ft
Solid Radiant Barrier Foil
- Best For:
- Dry climates where moisture vapor is not a concern and maximum reflectivity is desired
- Type:
- Solid (non-perforated) reflective aluminum foil
- Reflectivity:
- 95–97% of radiant heat
- Installation:
- Stapled under roof rafters (requires air gap; dry climates only)
- Emissivity Rating:
- 0.03–0.05
- Price Range:
- $0.12–$0.30 per sq ft
Radiant Barrier Paint/Coating
Best for Hard-to-Reach Areas- Best For:
- Attics with complex roof framing where stapling foil is impractical
- Type:
- Interior Radiation Control Coating (IRCC) — sprayable
- Reflectivity:
- 40–80% of radiant heat (varies by product)
- Installation:
- Sprayed onto underside of roof deck (airless sprayer)
- Emissivity Rating:
- 0.20–0.50 (must be ≤0.25 to qualify as radiant barrier)
- Price Range:
- $0.40–$0.80 per sq ft
Double-Sided Radiant Barrier Foil
Best Performance- Best For:
- Homeowners who want maximum radiant heat reflection from both sides of the material
- Type:
- Double-sided reflective aluminum foil (perforated or solid)
- Reflectivity:
- 90–97% on both surfaces
- Installation:
- Stapled under roof rafters (air gap both sides)
- Emissivity Rating:
- 0.03–0.05 on both surfaces
- Price Range:
- $0.20–$0.40 per sq ft
Detailed Product Reviews & Specifications
Perforated Radiant Barrier Foil
Perforated radiant barrier foil is the most common and versatile type of radiant barrier. It consists of a reflective aluminum foil surface (often laminated to a reinforcing substrate) with tiny perforations that allow water vapor to pass through. This prevents moisture from being trapped between the foil and the roof deck, which is important in all climates but especially in humid regions. The foil is typically stapled to the underside of roof rafters, with the reflective surface facing down into the attic space.
Pros
- •Allows moisture vapor to escape — safe for all climates
- •High reflectivity (90–97% of radiant heat)
- •Relatively easy DIY installation with a staple gun
- •Low cost per square foot
Cons
- •Perforations slightly reduce reflective surface area
- •Requires an air gap to function — cannot be in direct contact with other materials
- •Stapling under rafters requires working overhead in the attic
- •Tears or gaps in the foil reduce effectiveness
Key Specifications
Solid Radiant Barrier Foil
Solid radiant barrier foil is the same reflective material as perforated foil but without the tiny holes. This gives it a slightly higher reflective surface area, but it also means that water vapor cannot pass through. In dry climates, this is not a problem. In humid climates, however, a solid foil can trap moisture between the foil and the roof deck, potentially leading to condensation, mold, or wood rot.
Pros
- •Slightly higher reflectivity than perforated (no holes in surface)
- •Lower cost than perforated in some cases
- •Can double as a vapor barrier in certain applications
- •Same easy staple-up installation as perforated
Cons
- •Traps moisture — not suitable for humid climates
- •Can cause condensation problems if installed incorrectly
- •Not recommended for use over living spaces in humid regions
- •Must not be used on the attic floor over existing insulation in any climate
Key Specifications
Radiant Barrier Paint/Coating
Radiant barrier paint — technically called an Interior Radiation Control Coating (IRCC) — is a sprayable liquid applied to the underside of the roof deck. It contains reflective pigments that reduce the emissivity of the surface, causing it to emit less radiant heat into the attic. While it is less effective than foil (reflecting 40–80% of radiant heat versus 90–97% for foil), it is easier to apply in attics with complex framing, tight spaces, or obstructions that make stapling foil difficult.
Pros
- •Easy to spray in complex or tight attic spaces
- •Conforms to any surface — no cutting or fitting
- •No air gap requirement (works by reducing surface emissivity)
- •Can be applied with a standard airless sprayer
Cons
- •Less effective than foil (40–80% vs 90–97% reflectivity)
- •Requires spraying equipment (airless sprayer)
- •Overspray can be messy — masking required
- •Higher cost per square foot than foil
Key Specifications
Double-Sided Radiant Barrier Foil
Double-sided radiant barrier foil has reflective surfaces on both sides of the material, allowing it to reflect radiant heat coming from above (the roof) and from below (the attic floor and insulation). In a typical under-rafter installation, the top reflective surface faces the roof deck and the bottom surface faces the attic. While the primary benefit comes from the downward-facing surface reflecting roof radiation, the upward-facing surface can also reflect heat radiating upward from hot attic floors or ductwork.
Pros
- •Reflects radiant heat from both directions
- •Highest overall reflective performance
- •Available in perforated versions for moisture safety
- •Same installation method as single-sided foil
Cons
- •Slightly higher cost than single-sided foil
- •The benefit of the upward-facing surface is modest in most installations
- •Available in fewer product options than single-sided
Key Specifications
How Radiant Barriers Work
To understand how radiant barriers work, you need to understand radiant heat. When the sun heats your roof, the roofing material becomes hot and radiates that heat in all directions as infrared energy. This radiant heat is what makes an attic feel like an oven on a summer day. Traditional insulation (fiberglass, cellulose, foam) does not block radiant heat — it primarily resists conductive heat flow.
A radiant barrier is a material with a highly reflective surface that bounces radiant heat back toward its source rather than absorbing it. When installed under the roof deck with the reflective surface facing down into the attic, the barrier reflects the radiant heat from the hot roof back up toward the roof, preventing it from radiating into the attic space below.
For a radiant barrier to work, there must be an air gap between the reflective surface and the adjacent material. Without an air gap, heat conducts directly through the foil, and the reflective property is irrelevant. This air gap is why radiant barriers are stapled under the rafters rather than laid directly on the attic floor (though attic floor installation is possible with proper spacing).
The R-Value Myth: Radiant Barriers Do Not Have R-Values
A common point of confusion is that some radiant barrier products advertise an "equivalent R-value" or "R-value up to R-15." These claims are misleading. Radiant barriers do not have an R-value because they do not resist conductive heat flow — they reflect radiant heat. R-value measures resistance to conduction, which is a different mechanism.
The Department of Energy and building science community do not assign R-values to radiant barriers. Instead, radiant barrier performance is measured by emissivity (how much heat a surface radiates) and reflectivity (how much heat a surface reflects). A quality radiant barrier has an emissivity of 0.10 or less and a reflectivity of 90% or higher.
That said, a radiant barrier does improve the overall thermal performance of your attic insulation system. By reducing the amount of radiant heat that reaches the insulation, it effectively increases the real-world performance of your existing insulation. Some manufacturers express this as an "equivalent R-value" for marketing purposes, but it is not a true R-value and should not be treated as one.
Foil vs. Paint: Which Is Better?
Foil radiant barriers are more effective than radiant barrier paints. A quality foil barrier reflects 90–97% of radiant heat, while the best paints reflect 40–80%. This is because foil has a much lower emissivity (0.03–0.05) than paint (0.20–0.50). The lower the emissivity, the less heat the surface emits into the attic.
However, paint has advantages in certain situations. If your attic has complex framing, dormers, skylights, or tight spaces where stapling foil is impractical, spraying a radiant barrier coating is much easier. Paint also does not require an air gap to function — it works by reducing the emissivity of the surface it is applied to.
For most homeowners with straightforward rafter spacing, foil is the better choice. It is more effective, less expensive per square foot, and can be installed as a DIY project. Reserve paint for attics where foil installation is not practical.
Performance Comparison
Foil: 90–97% reflectivity, emissivity 0.03–0.05, $0.15–$0.35/sq ft
Paint/IRCC: 40–80% reflectivity, emissivity 0.20–0.50, $0.40–$0.80/sq ft
Foil requires an air gap; paint does not
Foil is DIY-installable; paint requires spraying equipment
Installation Methods: Under Rafters vs. Attic Floor
There are two primary installation methods for radiant barrier foil: stapling under the roof rafters and laying it on top of the attic floor insulation.
Under-rafter installation is the most common and most effective method. The foil is stapled to the bottom edges of the roof rafters, with the reflective surface facing down into the attic. This creates an air channel between the foil and the roof deck, which is essential for the barrier to function. This method reflects heat before it enters the attic space and also works with attic ventilation (air flows through the rafter channels).
Attic floor installation involves laying the foil on top of existing insulation, reflective side up. This method is easier to install (no overhead work) but has two drawbacks: dust accumulates on the reflective surface, reducing effectiveness over time, and the foil can trap moisture rising from the living space below. If you use this method, choose perforated foil only, and be aware that performance will degrade as dust settles on the surface.
Which Method Is Better?
Under-rafter installation is recommended by the Department of Energy and most building scientists. It is more effective long-term because the downward-facing reflective surface stays clean, and it works with attic ventilation. Attic floor installation is easier but less durable and can cause moisture problems. Choose under-rafter installation unless physical limitations make it impossible.
Combining Radiant Barriers with Traditional Insulation
A radiant barrier is not a replacement for traditional insulation. It is a complement. The barrier reduces the amount of radiant heat that reaches the insulation, and the insulation resists the conductive heat that does get through. Together, they provide more effective heat resistance than either alone.
The recommended combination for hot climates is: air seal the attic floor, install fiberglass or cellulose insulation to R-38 or higher, and add a perforated radiant barrier under the roof rafters. This three-layer approach addresses all three modes of heat transfer — radiation, conduction, and convection — and is the most cost-effective strategy for reducing attic heat.
If you have spray foam on the roof deck, you do not need a radiant barrier — the foam itself blocks radiant heat. Radiant barriers are most valuable in attics with traditional floor insulation where the roof deck is uninsulated.
Home Insulation R-Value Guide by Climate Zone
Find official Department of Energy (DOE) recommended R-values for your climate zone across attics, exterior walls, and crawlspaces.
Frequently Asked Questions
Yes. When installed correctly under the roof rafters with an air gap, a radiant barrier can reduce attic temperatures by 10–20°F. The Department of Energy confirms that radiant barriers are effective in hot climates, particularly when the attic has traditional floor insulation. They are less effective in cold climates or when installed incorrectly (without an air gap or with dust on the reflective surface).
Final Verdict
For most homeowners in hot climates, a perforated radiant barrier foil installed under the roof rafters is the best choice. It is affordable, effective (90–97% reflectivity), safe for all climates (moisture-vapor permeable), and DIY-installable. Double-sided perforated foil offers a small performance advantage if the price difference is minimal. Radiant barrier paint is a fallback option for complex attics where foil is impractical. Remember that a radiant barrier complements — not replaces — traditional insulation, and it must have an air gap to function. Combine it with R-38+ attic insulation and adequate ventilation for the best results.
Michael Davies
Home Systems & Repair Editor
Michael writes about roofing, attic ventilation, insulation, and structural repair products for HomeGear Guide. His focus is on helping homeowners understand the materials and tools involved in protecting their home exterior and interior.
Related Articles & Buying Guides
 Attic & Insulation
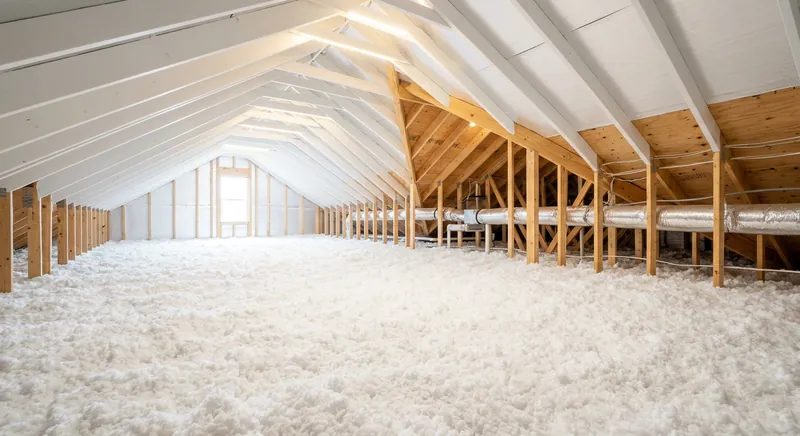
Best Attic Insulation for Hot Climates
Compare spray foam, radiant barriers, blown fiberglass, and cellulose attic insulation to stop intense radiant heat gain, lower cooling bills, and control humidity.
 Attic & Insulation
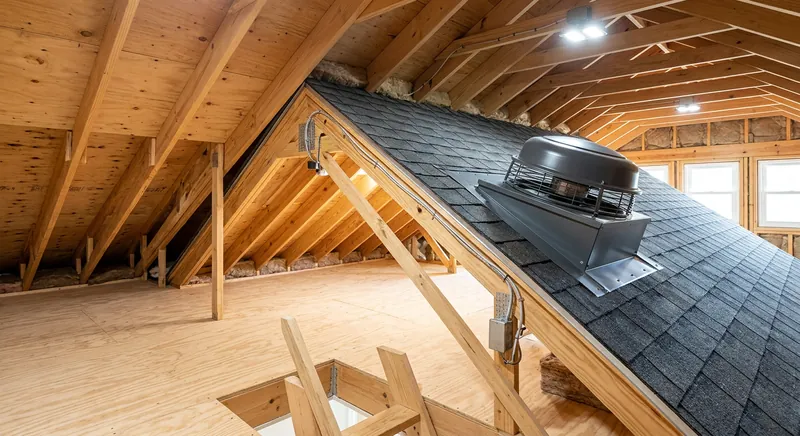
Best Attic Fans for Ventilation and Temperature Control
Compare solar and electric attic ventilation fans by airflow, thermostat controls, roof mounting, and IRC building codes to cool your attic and protect your roof.
 Attic & Insulation
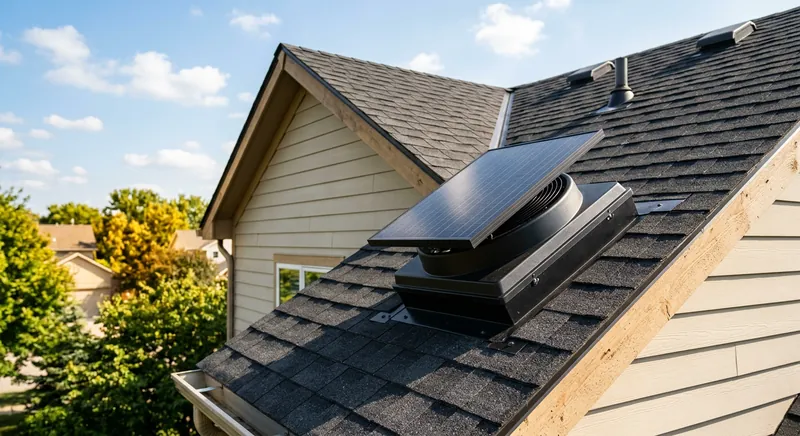
Solar Attic Fan Reviews: Comparing Top Options
Solar attic fans promise zero-cost ventilation, but panel wattage, CFM, and warranty vary widely between models. This review compares the key features that matter.
 Attic & Insulation
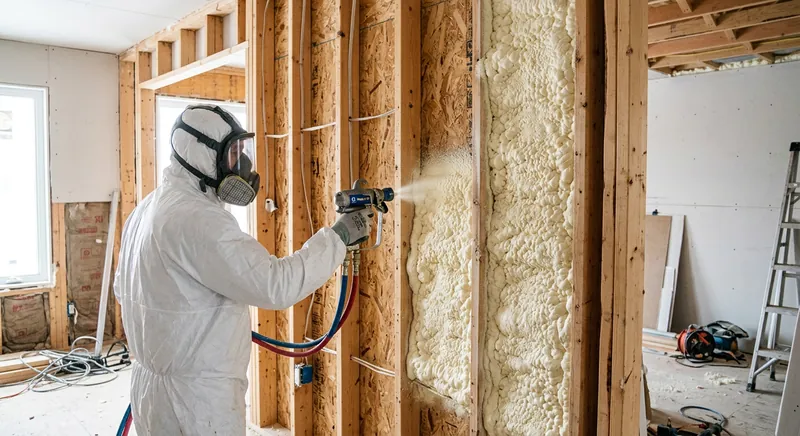
Best Spray Foam Insulation Kits for DIY Use
DIY spray foam kits let you insulate and air-seal in one step. Here is how to compare closed-cell vs open-cell kits, coverage, expansion ratio, and the safety gear you need.
Get Smarter About Your Home
Receive practical buying guides, product comparisons, maintenance tips and home project ideas from HomeGear Guide.
You can unsubscribe at any time.