Attic Moisture Problems: Causes, Signs, and Solutions
Affiliate Disclosure: HomeGear Guide is reader-supported. When you buy through links on our site, we may earn an affiliate commission at no extra cost to you. We do not accept paid product placements or sponsor-biased reviews.
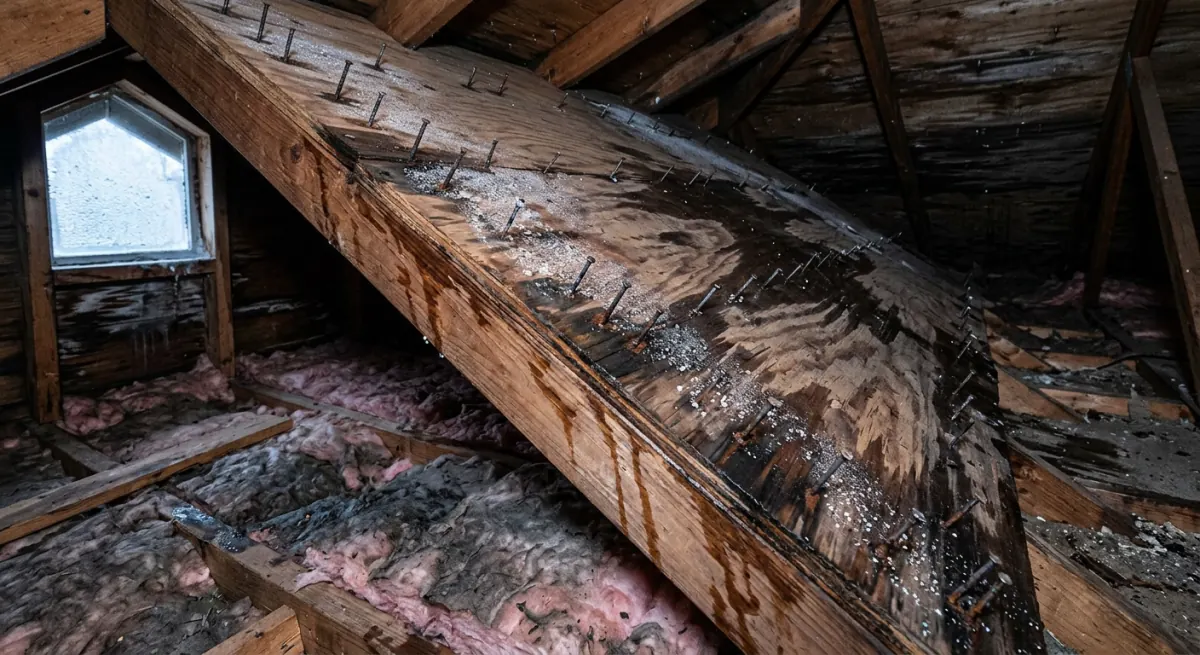
Attic moisture is one of the most damaging and most misunderstood home problems. Unlike a roof leak, which delivers a visible stream of water, attic moisture accumulates slowly and invisibly — condensing on cold surfaces, soaking into insulation, and creating the conditions for mold growth. By the time most homeowners discover the problem, insulation has lost its effectiveness, wood has begun to rot, and mold has established itself. The causes are well understood: warm, moist air from the living space entering the attic through unsealed gaps, poor ventilation that traps that moisture, and exhaust fans that vent directly into the attic rather than outside. This guide covers how to diagnose attic moisture problems, identify the source, and implement the right fixes.
Quick Answer
Attic moisture problems are caused by warm, moist air from the living space entering the attic and condensing on cold surfaces. The three main causes are unsealed air leaks between the living space and attic, inadequate attic ventilation, and bathroom or kitchen exhaust fans vented into the attic instead of outside. Signs include frost or water droplets on roof nails and decking in winter, damp or compressed insulation, mold or mildew growth, a musty smell, and rust on metal fasteners. The fixes are: seal air leaks between the living space and attic (around plumbing, electrical, and chimney penetrations), ensure adequate attic ventilation following the 1:300 rule, reroute exhaust fans to vent outside, and replace any wet or moldy insulation. The most important step is air sealing — without it, ventilation alone cannot keep up with the volume of moist air entering the attic.
How Moisture Enters the Attic
Warm air naturally rises. In a home, the warmest air — which also carries the most moisture from cooking, bathing, breathing, and humidifiers — moves upward through the house and into the attic through any available gap. This process is called stack effect, and it is the primary driver of attic moisture problems.
Air leaks are the pathways. The most common leakage points are around plumbing pipes, electrical wires and junction boxes, recessed light fixtures, the chimney or flue chase, attic access hatches and pull-down stairs, and gaps around bathroom exhaust fan housings. Each of these penetrations through the ceiling allows warm, moist air to enter the attic. A typical home has dozens of such gaps, and collectively they can allow 30 to 50 percent of the air in the living space to enter the attic over the course of a day.
Once in the attic, this warm, moist air meets cold surfaces — the underside of the roof deck, protruding nails, metal ductwork — and condenses. Condensation is the process where water vapor in warm air turns to liquid when it contacts a surface below the dew point temperature. In winter, attic surfaces can be well below the dew point, meaning significant amounts of water can accumulate.
Exhaust fans vented into the attic are a particularly damaging moisture source. A bathroom shower produces a large volume of warm, saturated air. If the exhaust fan dumps that air directly into the attic rather than venting through the roof or a wall to the exterior, it delivers concentrated moisture into a cold space where it condenses immediately. This is a building code violation in most jurisdictions and a leading cause of attic mold.
Signs of Attic Moisture Problems
Frost or water droplets on roof nails, metal fasteners, and the underside of the roof deck are the most immediate signs. In cold weather, condensation forms on these cold metal and wood surfaces. If you see frost on nails during a winter attic inspection, moisture is actively condensing.
Damp, compressed, or discolored insulation indicates repeated moisture exposure. Fiberglass and cellulose insulation that has been wet will mat down, lose its loft, and appear darker than dry insulation. Wet insulation also feels heavier than dry insulation. Once insulation has been saturated, it loses R-value and should be replaced.
Mold growth on attic sheathing, rafters, or insulation is a clear sign of chronic moisture. Attic mold typically appears as black, green, or white patches on the underside of the roof deck or on rafters. It often starts near the eaves where ventilation is weakest and spreads upward. Any visible mold in the attic indicates a moisture problem that needs addressing.
A musty or mildew smell in the attic or in upstairs rooms suggests mold growth somewhere in the attic. Even if you cannot see visible mold, the odor indicates microbial activity on damp surfaces. Investigate the source promptly — mold spreads and becomes harder to remediate over time.
Rust on metal fasteners, ductwork, or HVAC components in the attic indicates repeated condensation. Nails that protrude through the roof deck may show rust on their tips — a subtle sign that moisture has been condensing on them over multiple seasons.
Air Sealing: The Most Important Fix
Air sealing is the process of closing the gaps between the living space and the attic to prevent warm, moist air from entering. It is the single most effective step for controlling attic moisture, and it should be done before adding insulation or improving ventilation.
Start with the attic access. Whether you have a hatch, pull-down stairs, or a door, seal the perimeter with weatherstripping and add a rigid foam insulation board cover. An unsealed attic access can allow as much air through as a 1-square-foot hole in the ceiling.
Seal around all penetrations. Use expanding foam or caulk to seal around plumbing pipes, electrical wires, junction boxes, recessed light fixtures (use fire-rated covers for non-IC rated fixtures), and the chimney or flue chase (use fire-rated sealant and metal flashing). Each penetration is a potential air leak.
Seal around exhaust fan housings. Bathroom and kitchen exhaust fans that penetrate the ceiling are common leak points. Seal the gap between the fan housing and the drywall with foam or caulk. Then verify that the fan ductwork vents to the exterior, not into the attic.
The cost of air sealing materials is $50 to $150 for a typical home — caulk, expanding foam, weatherstripping, and rigid foam board. The time investment is 4 to 8 hours for a thorough job. The impact on attic moisture is often dramatic — many moisture problems disappear entirely after air sealing, even before ventilation improvements.
Ventilation Improvements
After air sealing, ensure the attic has proper ventilation to exchange any remaining moist air with dry outside air. Ventilation works by creating a continuous flow: cool, dry air enters through soffit vents at the eaves, and warm, moist air exits through ridge or gable vents at the top.
Follow the 1:300 rule: 1 square foot of net free ventilation area per 300 square feet of attic floor space, split roughly evenly between intake (soffit) and exhaust (ridge or gable). Verify that soffit vents are not blocked by insulation — install baffles at each rafter bay to maintain the air channel.
If passive ventilation is insufficient — for example, in a home with a complex roof design or a humid climate — an attic fan with a humidistat can provide active moisture removal. The humidistat activates the fan when humidity exceeds a set threshold, typically 70 to 80 percent relative humidity, ensuring moisture is exhausted before it condenses.
Never rely on ventilation alone to solve a moisture problem caused by air leaks. Ventilation can remove some moisture, but it cannot keep up with the volume of moist air that enters through unsealed gaps. Air sealing must come first; ventilation supplements it.
Fixing Exhaust Fan Venting
Bathroom and kitchen exhaust fans that vent into the attic are a building code violation and a leading cause of attic moisture. Every exhaust fan must vent to the exterior through a roof cap or wall vent, not into the attic, soffit, or crawl space.
To check your exhaust fans, go into the attic and locate the ductwork from each bathroom and kitchen fan. If the duct terminates inside the attic — simply blowing air into the attic space — it needs to be rerouted. The duct should run to a roof cap or a wall vent with a backdraft damper.
Rerouting exhaust ductwork is a moderate DIY project. You need rigid or semi-rigid ductwork (not flexible vinyl, which restricts airflow and collects moisture), a roof cap or wall vent, and flashing materials. The duct should be as short and straight as possible, with no sags where condensation can collect. Insulate the duct if it passes through an unconditioned attic to prevent condensation inside the duct itself.
If you are not comfortable cutting through the roof or wall for the vent termination, hire a contractor. The cost of professional exhaust fan rerouting is $200 to $500 per fan, including the roof cap and flashing.
Replacing Wet or Moldy Insulation
Insulation that has been wet from condensation loses its R-value and may harbor mold. Once you have fixed the moisture source — air sealing, ventilation, and exhaust fan rerouting — replace any insulation that shows signs of water damage.
Remove wet or moldy insulation carefully, bagging it in the attic to avoid spreading mold spores through the house. Dispose of it according to local guidelines for mold-contaminated materials. Wear an N95 mask, gloves, and eye protection during removal.
After removal, inspect the attic floor and ceiling drywall for mold growth. Treat any visible mold on wood surfaces with a mold-killing solution. Allow the area to dry completely before installing new insulation.
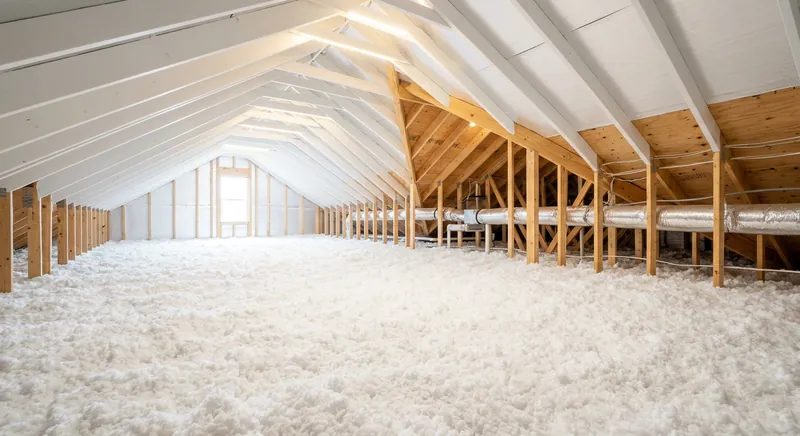
Replace with the same R-value or higher. For most US climates, R-38 to R-60 is recommended. Consider using blown-in cellulose or fiberglass, which fills gaps better than batts. If air sealing was done properly, the new insulation should stay dry indefinitely.
The cost of replacing attic insulation is $1 to $3 per square foot for materials, or $500 to $2,000 for a typical attic depending on size and R-value. Professional installation adds $500 to $1,500.
Attic Ventilation Calculator & Code Sizing Tool
Calculate your attic's required Net Free Ventilating Area (NFVA) under IRC R806.2 building code formulas, balanced 50/50 between intake and exhaust.
Frequently Asked Questions
Attic moisture comes from warm, moist air rising from the living space through unsealed gaps in the ceiling. When this air contacts cold surfaces in the attic — roof nails, decking, metal ductwork — it condenses into water. The main causes are air leaks around plumbing, electrical, and chimney penetrations, bathroom or kitchen exhaust fans vented into the attic, and inadequate attic ventilation to remove the moisture.
Final Verdict
Attic moisture problems are caused by warm, moist air from the living space entering the attic through unsealed gaps and condensing on cold surfaces. The fix is a three-step process: air sealing (closing gaps to prevent moist air entry), ventilation (ensuring the attic can exchange remaining air), and exhaust fan rerouting (verifying all fans vent outside). Air sealing is the most important and most affordable step — $50 to $150 in materials and a weekend of work can eliminate the majority of attic moisture problems. Ventilation improvements and exhaust fan fixes address the remaining moisture. Any insulation that has been wet or moldy must be replaced after the moisture source is fixed. The total investment of $300 to $2,500 is far less than the cost of mold remediation ($500 to $6,000), structural wood repair ($500 to $1,500 per section), or premature roof replacement caused by long-term moisture damage.
Michael Davies
Home Systems & Repair Editor
Michael writes about roofing, attic ventilation, insulation, and structural repair products for HomeGear Guide. His focus is on helping homeowners understand the materials and tools involved in protecting their home exterior and interior.
Related Articles & Buying Guides
 Attic & Insulation
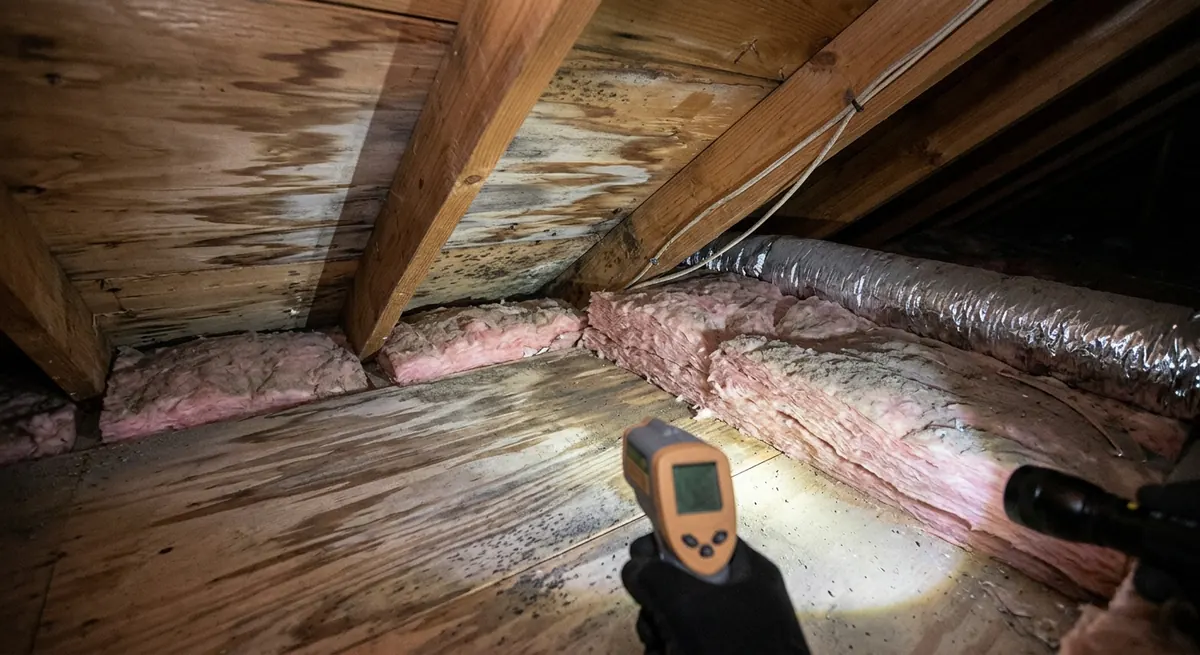
Signs of Poor Attic Ventilation and How to Fix It
A hot, stuffy attic, frost on nails, mold growth, and curling shingles all signal poor ventilation. Learn to diagnose and fix attic ventilation problems before they cause expensive damage.
 Attic & Insulation
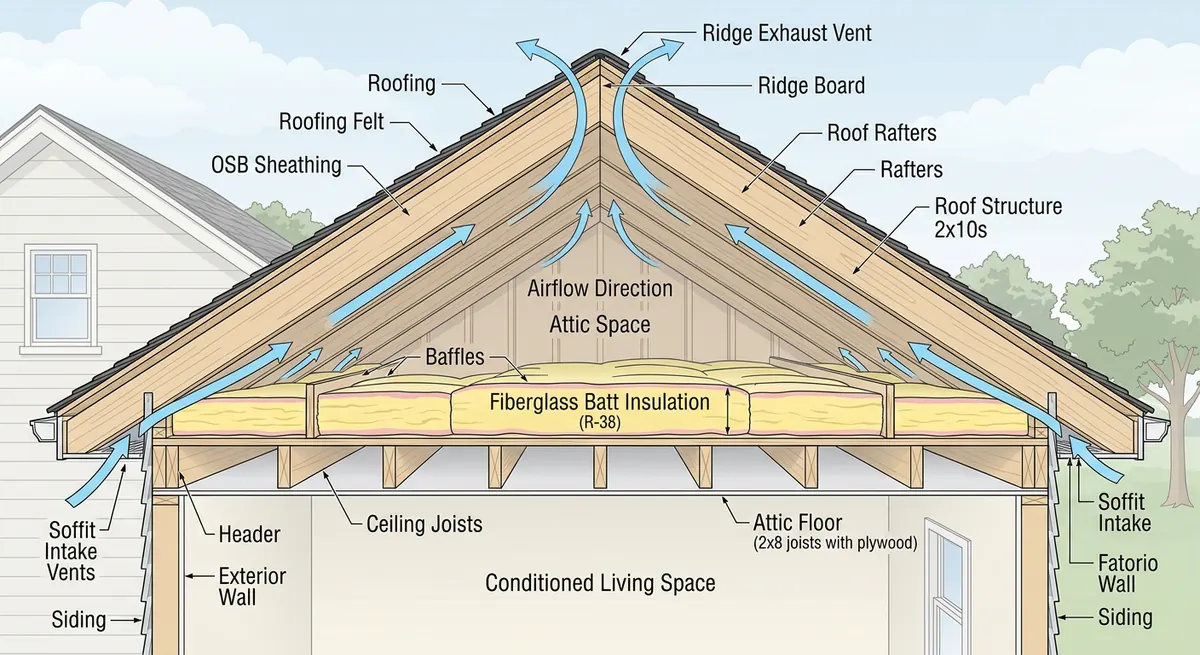
Attic Ventilation Requirements: Code Rules and Best Practices
Proper attic ventilation follows the 1:300 rule and a balanced intake-to-exhaust ratio. This guide explains code requirements, vent types, NFA calculations, and the mistakes that cause roof damage.
 Attic & Insulation
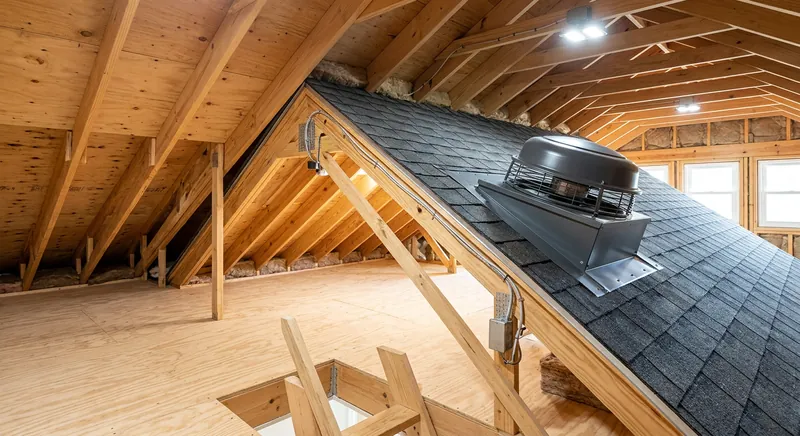
Best Attic Fans for Ventilation and Temperature Control
Compare solar and electric attic ventilation fans by airflow, thermostat controls, roof mounting, and IRC building codes to cool your attic and protect your roof.
 Attic & Insulation
Best Attic Insulation for Hot Climates
Compare spray foam, radiant barriers, blown fiberglass, and cellulose attic insulation to stop intense radiant heat gain, lower cooling bills, and control humidity.
 Roofing & Home Repair
Best Mold Test Kits for Home Use
Petri dish, swab, and air sampling mold test kits each serve different detection needs. Compare methods, accuracy, and lab analysis options.
Get Smarter About Your Home
Receive practical buying guides, product comparisons, maintenance tips and home project ideas from HomeGear Guide.
You can unsubscribe at any time.