How to Find a Roof Leak Before It Causes Major Damage
Affiliate Disclosure: HomeGear Guide is reader-supported. When you buy through links on our site, we may earn an affiliate commission at no extra cost to you. We do not accept paid product placements or sponsor-biased reviews.
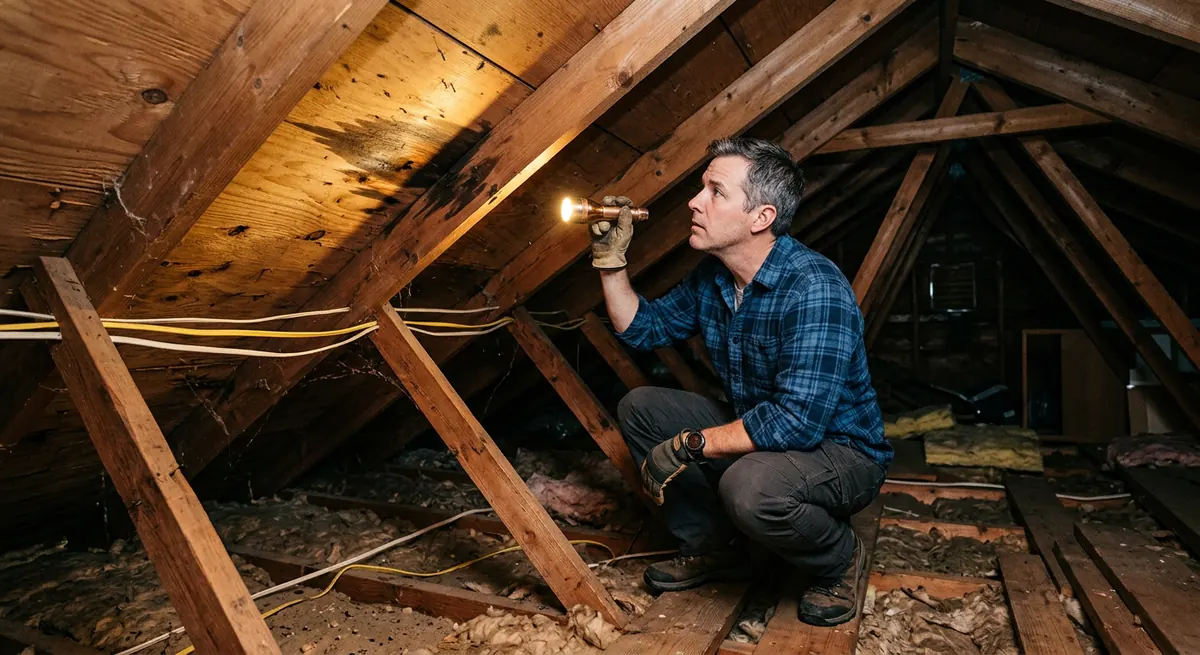
Water stains on your ceiling are usually the first sign of a roof leak, but the stain rarely appears directly below the actual entry point. Water travels along rafters, across underlayment, and down framing members before it drips onto drywall, which means the source of the leak can be several feet away from where the damage is visible. Finding the leak requires a systematic approach — working from the inside out, checking the most common failure points, and using a simple hose test to confirm your suspicions. This guide walks through each step so you can locate the problem before it leads to rotted decking, mold growth, or structural damage.
Quick Answer
To find a roof leak, start in the attic with a flashlight and look for water stains, dark spots, or mold on the underside of the roof deck and rafters. Trace any wet insulation or stains upward toward the roof surface, paying close attention to areas around vents, chimneys, and valleys. If the attic inspection does not reveal the source, inspect the roof exterior for damaged flashing, cracked vent boots, missing shingles, or degraded sealant. When visual inspection is inconclusive, run a garden hose test — soak small sections of the roof one at a time while someone watches inside the attic for dripping. This isolates the exact entry point. Leaks around penetrations like plumbing vents and chimneys are the most common, followed by valley failures and damaged shingles. If the leak is extensive, the roof is steep or high, or you cannot safely access the roof, call a professional roofer.
Where Roofs Typically Leak
Most roof leaks are not random. They occur at predictable weak points where the roof has been penetrated, joined, or compromised. Understanding these common failure areas narrows your search dramatically and saves time during inspection.
Flashing is the metal or membrane material that seals joints and transitions on the roof — around chimneys, skylights, vents, and where roof planes meet vertical walls. Flashing failures are the single most common source of roof leaks. Metal flashing can corrode, pull away from the surface, or crack at the sealant joint. Step flashing along sidewalls is particularly vulnerable because it relies on a series of overlapping pieces that can lift or separate over time.
Valleys, where two roof planes intersect, channel large volumes of water and are under constant stress. If the valley flashing is damaged, or if shingles are not properly trimmed at the valley, water can be driven under the roofing material. Ice dams in cold climates can also force water up under valley flashing.
Penetrations for plumbing vents, exhaust fans, and electrical conduits are sealed with rubber or plastic boots that degrade over time. The rubber gasket around a plumbing vent boot can crack and split within 10 to 15 years of installation, allowing water to run down the pipe and into the attic.
Missing, cracked, or curling shingles create direct entry points for water. While a single damaged shingle may not immediately cause a leak, wind-driven rain can exploit even small gaps. Pay particular attention to shingles near the roof edge and in valleys, where water flow is concentrated.
Attic Inspection: Tracing the Leak from Inside
The attic is the best place to start your search because it reveals the underside of the roof deck where water first enters. Go up on a bright day after a rain, or during a rain if it is safe to do so. Bring a bright flashlight, a measuring tape, and a notebook to record what you find.
Look for dark stains on the roof deck, rafters, and trusses. Fresh water stains are dark brown or black; older stains may appear gray with a white or greenish mold growth. Follow any stain upward toward the roof surface, as gravity will have pulled water down from the entry point. Press on suspicious wood with a screwdriver — soft or spongy decking indicates rot and prolonged moisture exposure.
Turn off your flashlight and look for pinpoints of daylight coming through the roof deck. Even a tiny gap that lets light in will let water in during a storm. This is one of the fastest ways to find a hole or a gap in flashing that is otherwise invisible from below.
Check the insulation. Wet fiberglass or cellulose insulation will be compacted and discolored, and it may have a musty smell. Water that has soaked insulation has been sitting for some time, which means the leak may be intermittent rather than active during every rain. If you find wet insulation, pull it back to expose the ceiling drywall below so it can dry, and note the location relative to roof features above.
Measure the distance from the leak to two fixed points — such as the ridge of the roof and the nearest side wall — so you can locate the corresponding spot on the roof exterior. Water can travel horizontally along rafters or across the underlayment, so the attic stain may not be directly below the roof entry point. Account for any slope or framing that could redirect water.
Exterior Inspection: Checking Shingles, Flashing, and Boots
Once you have a general idea of the leak location from the attic, inspect the roof exterior in that area. Use binoculars from the ground first — you can often spot missing shingles, lifted flashing, or cracked vent boots without climbing up. If you do go on the roof, wear soft-soled shoes, work on a dry day, and use a safety harness or have someone hold a ladder.
Check the flashing around chimneys, skylights, and sidewalls. Look for gaps where the flashing has pulled away from the surface, corroded or rusted metal, and cracked or missing sealant at joints. Counterflashing — the piece that covers the top of the step flashing — can separate from the chimney mortar over time and allow water behind it.
Inspect every plumbing vent boot. These are the rubber or neoprene gaskets that seal around plumbing pipes protruding through the roof. The rubber degrades from UV exposure and eventually cracks. If you can see splits or gaps around the pipe, the boot needs replacement. This is one of the most common and easiest leaks to identify from the exterior.
Examine the shingles in the suspect area. Look for shingles that are cracked, curling at the edges, missing granules (exposing the asphalt underneath), or entirely missing. Check the seal strip under shingles — if shingles lift easily, the adhesive has failed and wind-driven rain can get underneath.
Inspect roof valleys for debris buildup, damaged valley flashing, or shingles that are not properly cut and overlapped. Valleys concentrate water flow, so even a small defect can channel significant water into the roof structure.
Using a Garden Hose Test to Isolate the Leak
When visual inspection does not conclusively identify the leak source, a garden hose test is the most reliable DIY method for pinpointing it. This test works because it simulates rainfall in a controlled, incremental way, allowing you to isolate the exact section of roof that is allowing water in.
You will need two people for this test. One person goes into the attic with a flashlight and a bucket. The other stays on the ground with a garden hose that has an adjustable spray nozzle. Start at the lowest part of the roof, below the suspected leak area, and work upward.
Soak a small section of the roof — no more than 2 to 3 feet wide — for about 5 to 10 minutes. Use a gentle spray that mimics rainfall, not a high-pressure jet that could force water under shingles and create a false result. After soaking each section, the person in the attic checks for dripping or new water stains.
Work systematically from bottom to top and from one side to the other. If no water appears after soaking a section, move the hose up or sideways to the next area. When water does appear in the attic, note the location of the hose at that moment — that section of roof contains the entry point.
Pay special attention to areas around penetrations and flashing, as these are the most likely sources. Once you have narrowed down the section, test smaller and smaller sub-areas within it to zero in on the exact spot. This method takes patience but it is far more effective than guessing and tearing into multiple areas of the roof.
Do not run the hose test during freezing weather, as water on the roof can freeze and create a slip hazard. Also avoid testing during or immediately after actual rain, as residual moisture can make it difficult to distinguish new water from old.
When to Call a Professional
Some roof leaks are within the scope of a capable homeowner, but others require professional expertise and equipment. Knowing the difference protects both your safety and your home.
Call a professional if your roof is steep (pitch greater than 6:12), more than one story high, or difficult to access safely. Fall injuries from roof work are common and serious, and no leak repair is worth a trip to the emergency room. A professional roofer has the harnesses, ladders, and experience to work safely at height.
If the leak is extensive — multiple stains in the attic, widespread wet insulation, or sagging roof deck — the problem may go beyond a simple patch. Widespread leakage can indicate systemic flashing failure, a failing roof system, or structural damage that requires a comprehensive assessment rather than a spot repair.
If you have completed the garden hose test and still cannot find the source, a professional roofer has moisture detection tools, borescopes, and experience with uncommon leak paths that are difficult to trace. Some leaks travel along plumbing or electrical chases and emerge far from the roof entry point.
If the roof is under warranty, check the warranty terms before attempting any repair yourself. DIY repairs may void the warranty, and the manufacturer or installer may cover the repair at no cost. Document the leak with photos and notes before contacting the warranty provider.
A professional roof inspection typically costs $150 to $400, which is a worthwhile investment if it prevents you from making an incorrect repair that fails during the next storm or from working in unsafe conditions.
Seasonal Home Maintenance Checklist
Customizable seasonal inspection checklist covering roof seals, flashing, gutter drainage, HVAC filters, and foundation protection.
Frequently Asked Questions
Water travels along the path of least resistance once it enters the roof. It can run along rafters, across underlayment, or down roof decking before dripping onto insulation or drywall. The visible stain can be several feet horizontally from the actual entry point. This is why attic inspection and tracing water paths upward is more reliable than assuming the leak is directly above the stain.
Final Verdict
Finding a roof leak is a process of elimination that works best from the inside out. Start in the attic, where water stains, wet insulation, and daylight gaps reveal the underside of the entry point. Then inspect the roof exterior at the corresponding location, focusing on the most common failure points — flashing, vent boots, valleys, and damaged shingles. If visual inspection does not confirm the source, a systematic garden hose test will isolate it. The most important thing is to act quickly: a small leak that is easy to find and repair today can become a rotted deck, mold growth, and a costly structural problem if left unchecked. If your roof is steep, high, or the leak is extensive, do not hesitate to call a professional — the cost of an inspection is minor compared to the cost of water damage or a fall injury.
Michael Davies
Home Systems & Repair Editor
Michael writes about roofing, attic ventilation, insulation, and structural repair products for HomeGear Guide. His focus is on helping homeowners understand the materials and tools involved in protecting their home exterior and interior.
Related Articles & Buying Guides
 Roofing & Home Repair
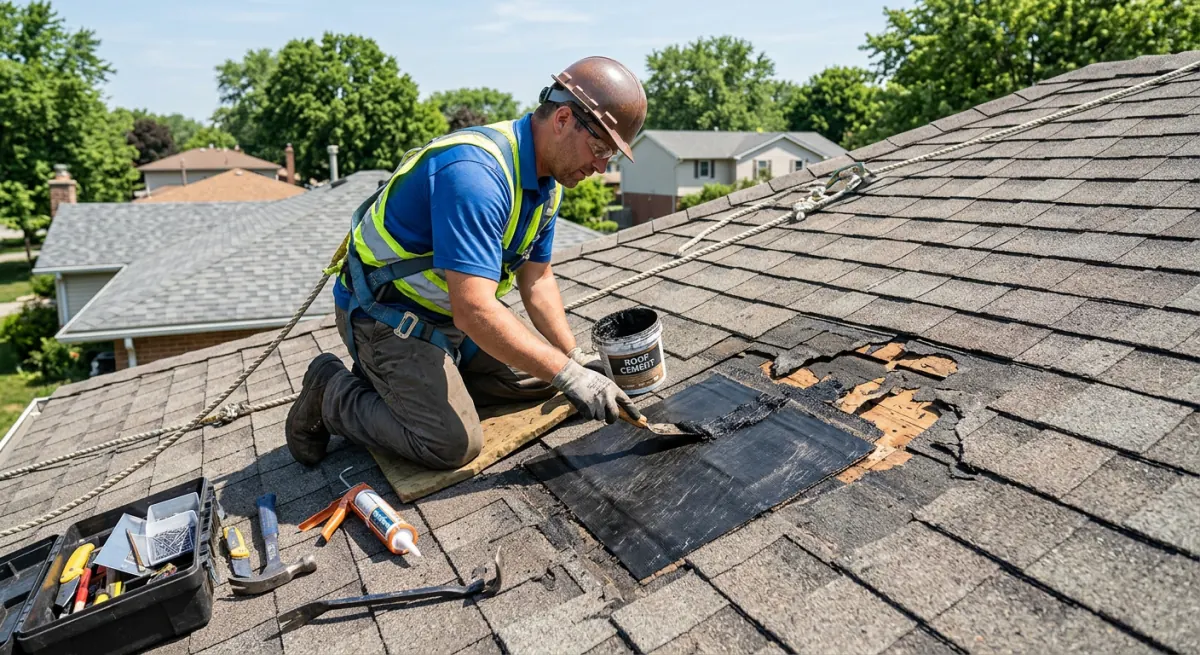
Roof Repair Cost Guide: What to Expect for Common Repairs
Understand what common roof repairs cost, the factors that drive pricing, when DIY is safe versus when to hire a professional, and the hidden costs of delaying repairs.
 Roofing & Home Repair
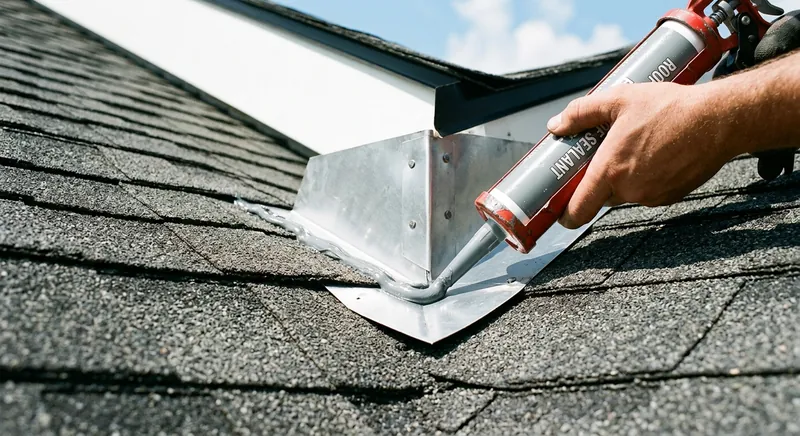
Best Roof Sealants for Reliable Leak Protection
Compare elastomeric, silicone, asphalt, and rubber roof sealants to find the right formula for your specific repair, roof material, and climate.
 Roofing & Home Repair
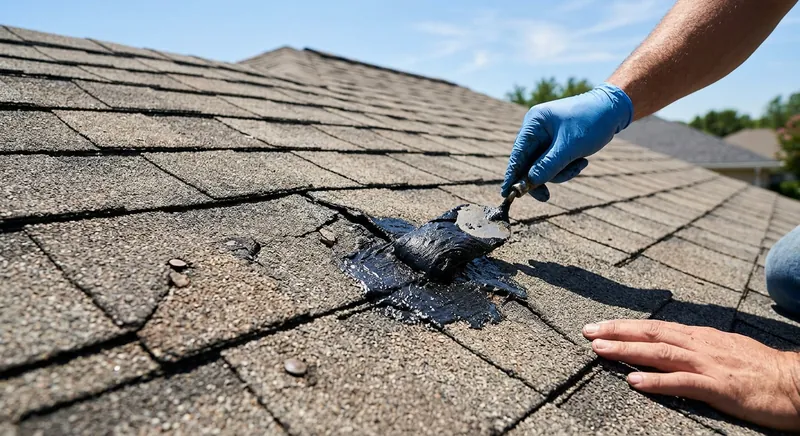
Best Roof Leak Repair Products for Quick Fixes
From emergency patch tape to permanent elastomeric sealant, compare roof leak repair products for different leak types, roof materials, and urgency.
Roofing & Home RepairBest Roof Patches for Stopping Leaks Fast
Asphalt, rubberized, and epoxy roof patches each handle different leak scenarios. Compare products for emergency and permanent leak repairs.
 Roofing & Home Repair
Best Moisture Meters for Home Inspection
Pin and pinless moisture meters detect hidden water problems before they become visible. Compare accuracy, depth, and features for home use.
Get Smarter About Your Home
Receive practical buying guides, product comparisons, maintenance tips and home project ideas from HomeGear Guide.
You can unsubscribe at any time.